
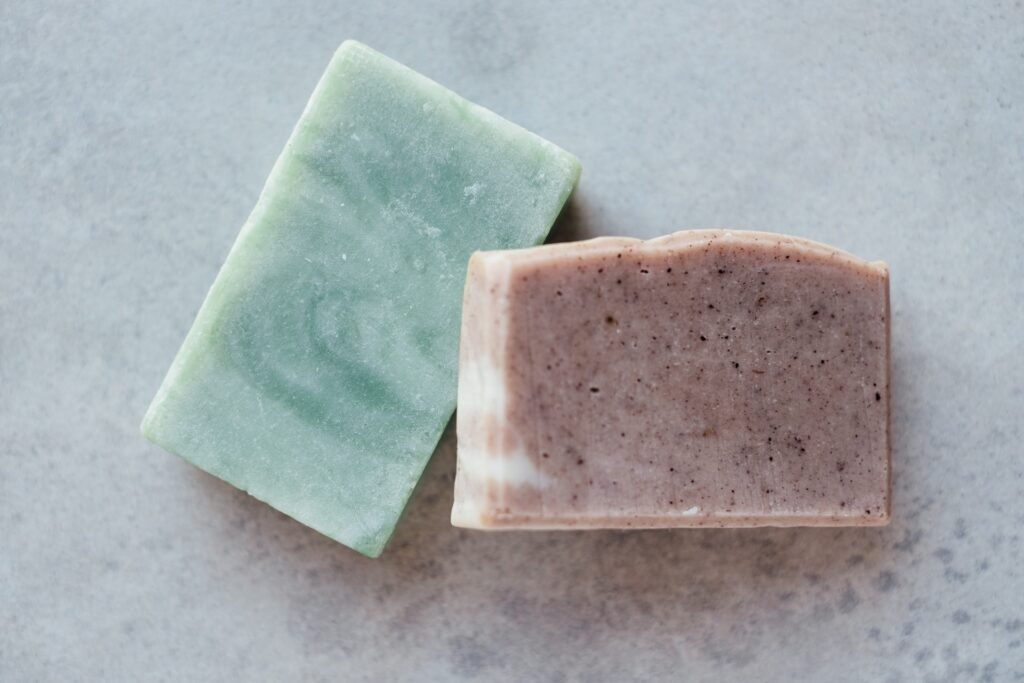
Recently there has come the trend of homemade soap making. We have all seen the reels and short videos on social media and to be honest soap making looks pretty cool. However, there is a technique to making soaps, no matter how easy it seems. Even though you might be able to regular Soap in less than no time, however, to create the swirling textures or intricate patterns using different colored soaps would require some skill. So what exactly is soap making, and how do you make Soap?
The Science Behind Soap Making:
Saponification is how fatty substances like fat, oils, lipids are turned into deterrents. This is done by using ethanol which acts as an alkaline solution to convert the fat. Soaps are acidic in nature with long carbon-carbon bonds that are saline of fatty acids. Sodium oleate is a common soap.
Saponification is traditionally done with vegetable oils and pig fats. Triacylglycerols are oily substances and are made up of different kinds of fatty acids. To convert triglycerides to Soap, you can utilize a one-step or two-step method. The triglycerides are processed with a strong base like Lye that pierces the ester link, producing lipids, salts or soaps and glycerin in the traditional step-by-step procedure.
Utensils Required to Make Soaps:
Suppose you are new to the art of making Soap, then you will need to buy or get a few utensils required to make Soap. The most important thing to remember while making Soap is not to use aluminum pans or pots, which can have a negative effect on the Soap. Also, the weight of the Lye or other liquids taken is measured by weight and not by volume.
- Containers for slow cookers can be made of plastic, glass, or stainless steel (for measuring Lye)
- a container made of industrial-grade plastic, glass, or stainless steel for the mixing of water with Lye
- kitchen scale with digital display
- spatulas made of silicone that can be used only for soap making
- Using an immersion blender with stainless and also steel shaft
- thermometer for candy (that is used only for soap making)
- loaf mold made of silicone (or individual molds)
- cutter for Soap
It is important not to mix up the Lye with other materials there. It will be best if you use disposable crockery to store the Lye. You can also label it to make sure that it does not get mixed up. The mixtures are also hot as you melt them; therefore, it is best to get metal tools to help make the Soap and not use plastic tools as they might get burned or melt. Also, always use organic soap making supplies only, since the chemicals otherwise can harm your skin.
Pro Tip:
Lye is a source of concern for some people. This caustic material can cause skin irritation, cornea, and breathing issues on its own. Saponification, on the other hand, turns Lye to create Soap. When done correctly, there will be no trace of Lye in the product anymore.
Safety Equipment Required to Make Soap:
- Latex Gloves
- Safety Goggles
- Apron or Lab coat/ Long Sleeved shirts
- A workbench
- Well ventilated workplace.
Ingredients Required to Make Soaps:
You just need some coconut oil and olive oil to make the Soap.
- 22 oz of coconut oil
- 11 oz of olive oil
- 10 oz of. distilled water
- 4.76 oz of 100 percent pure lye
- 25 to 45 drops of essential oils, which is optional
- food colors
- dried flowers
- Decorations/ Flakes
Figuring out fat-to-lye ratios
While the ingredients can be adjusted to generate smaller or larger quantities, it’s critical to estimate a sensible dose of Lye. The amount of oil that is safe for your recipe is determined by the type and quantity of the oil that you use. Make sure always to calculate the required Lye beforehand and cross-check it.
Steps to Make Soap:
- Put on your safety gear and measure your ingredients.
- You can now reduce the heat of the slow cooker and let it burn on low.
- Add the coconut oil into the cooker but make sure to splash. Create the lye mixture as it warms. Slowly pour the lye solution into the water. (Do not 4. mix lye with water; this is dangerous.)
- Be careful while mixing the substance and start adding the lye with help of the spatula. It will warm up and emanate exhaust, which is fine.
- Put the lye arrangement away—Permit 15 to 20 minutes for cooling.
- Look at the oils. Do not add the olive oil if the coconut oil is still sticking together. Only add it after the latter has broken up completely. Mix everything together thoroughly.
- Reduce the speed of the blender to direct. Roundabout movements are utilized to mix the blend.
- To stay away from air bubbles, keep the blender lowered.
- Stir and consolidate for one more 10 to 15 minutes, or until the cleanser arrives at the following. Now you should be able to see the whole mixture of lye and oils thickening and it will start looking like a pudding.
- Seal the cooker with a cover or lid. Keep on cooking it for 50 minutes on low after this. Make sure that you keep on whistling it slowly to eliminate all kinds of air bubbles in it.
- Turn the sluggish cooker off. Permit to cool until the temperature arrives at 180°F (82°C). Whenever utilized, add medicinal oils and colorants. Blend completely.
- Fill the cleanser form most of the way with the blend. Use a spatula and softly smoothen the top using circular motions. Make sure to eliminate the air bubbles, to do that tap the container on the work bench. On the off chance that was utilized, decorate with dry spices.
Pro Tip: Make sure never to mix water and Lye since it will cause a harmful chemical reaction and get you injured.
Finish Making the Soap:
- Permit 24 hours for the cleanser to fix after it has been filled in the form.
- Cautiously eliminate the cleanser from the form whenever it has cooled.
- Utilizing a cleanser shaper or blade, cut the cleanser into bars. Basically, jump out the single cleanser molds assuming that you utilized them.
- You can utilize your cleanser now, yet you might need to sit tight one more week for it to dry totally. The durability and the hardness of the project will increase significantly.
Conclusion:
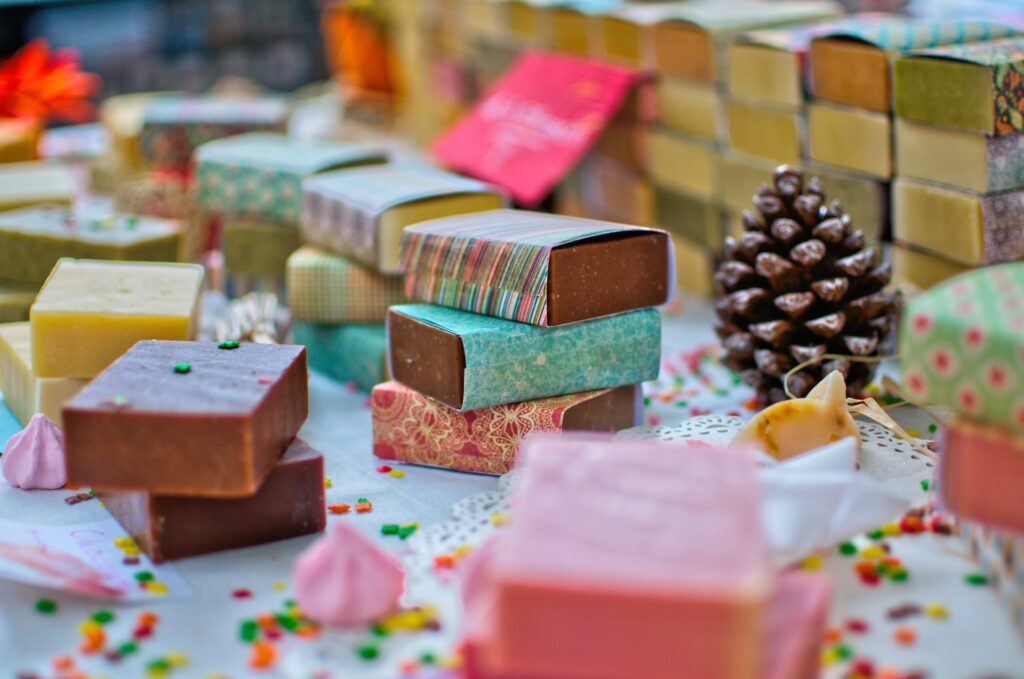
Now that you know how to make Soap, just practice it a few times, and you will be making professional-grade soap bars in no time. You can try selling them or gifting them as well. Soap making is fun; however, keep the mind the safety tips and proceed accordingly.